Are you ready to indulge in a slice of heaven? If you haven’t tasted cream cheese pound cake yet, you’re in for a delightful surprise! This cake isn’t just any ordinary dessert; it’s a mouthwatering concoction that brings together the richness of cream cheese and the simplicity of pound cake. So, grab your apron, because today we’re diving deep into a step-by-step guide on how to whip up this scrumptious cream cheese pound cake that will have your taste buds dancing! Let’s jump right in!
What Makes Cream Cheese Pound Cake Special?
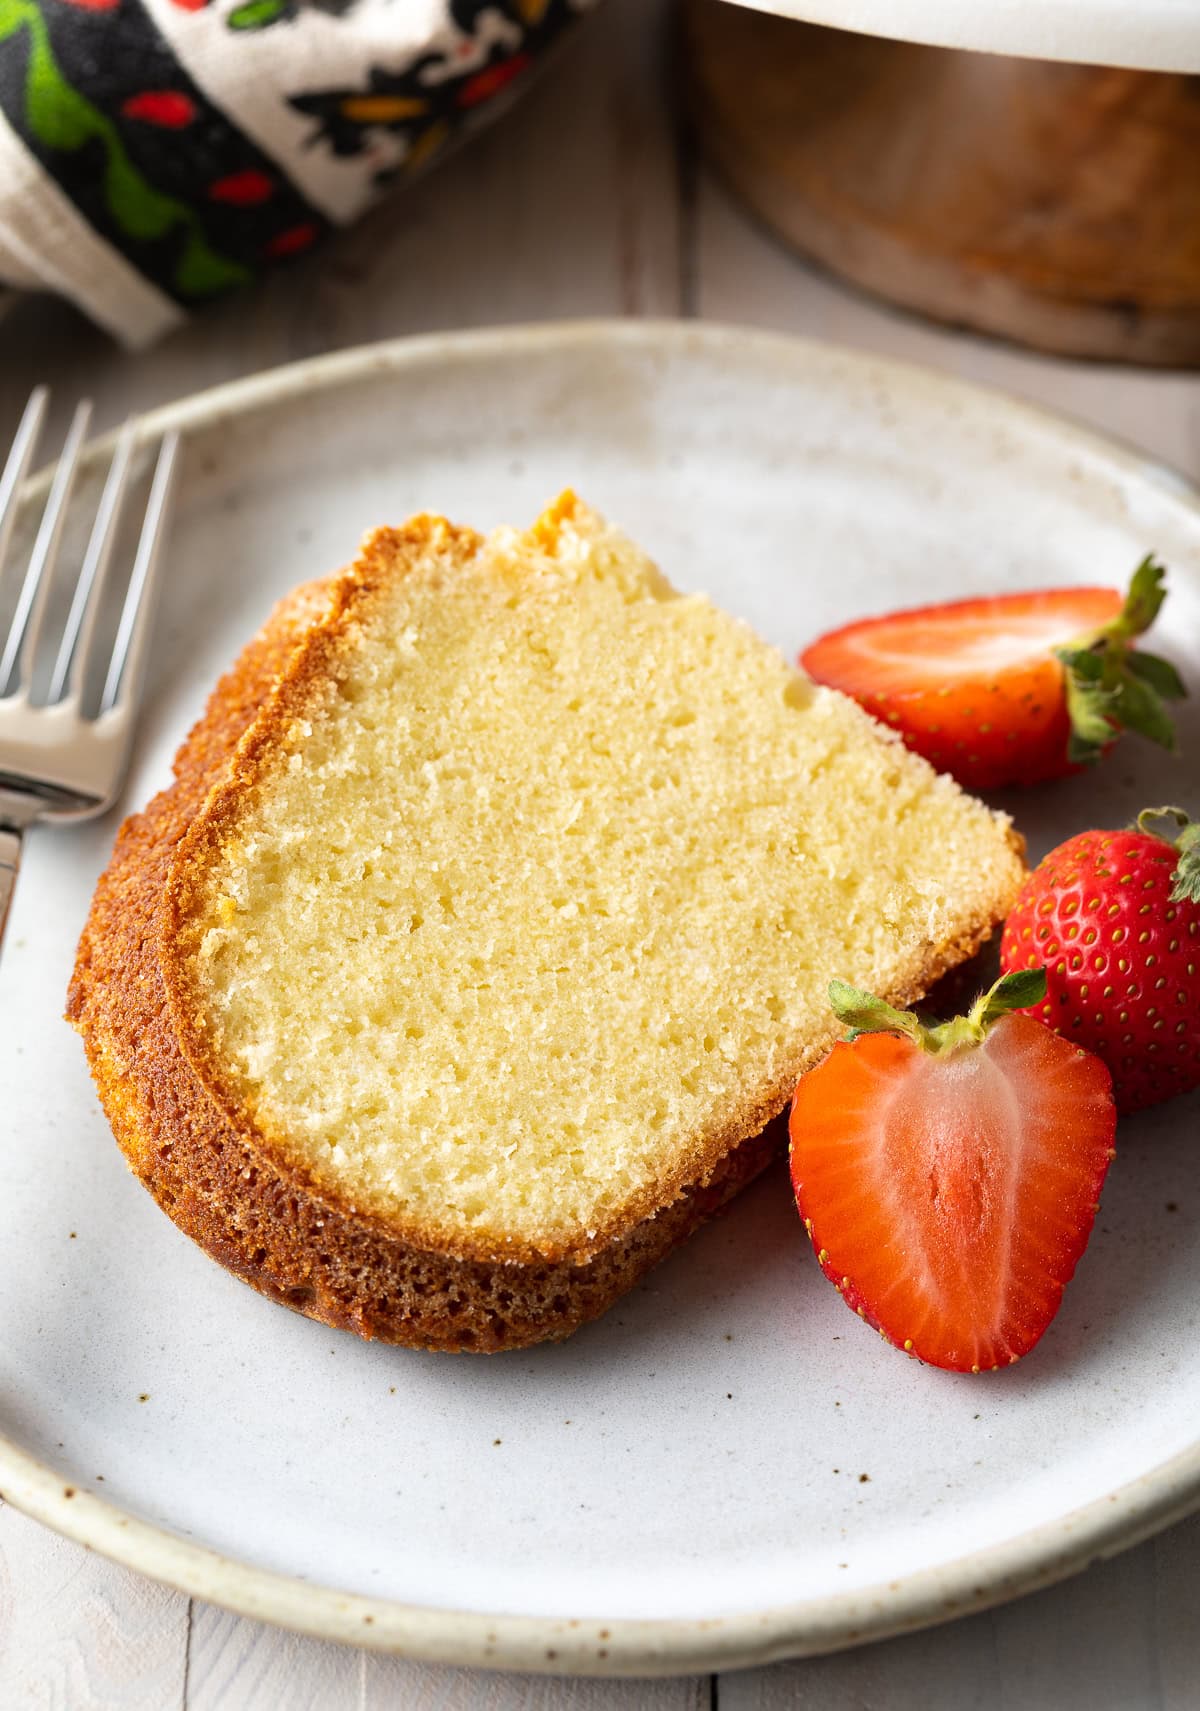
Cream cheese pound cake stands out from the crowd thanks to its unique texture and flavor. The cream cheese adds a creamy richness, giving the cake a moist and tender crumb that you just can’t resist. Imagine biting into a slice, and you’re met with a soft, melt-in-your-mouth texture—sounds dreamy, doesn’t it? Plus, the slight tanginess from the cream cheese beautifully balances the sweetness, making each bite a delightful experience!
Gather Your Ingredients
Before we start baking, let’s gather our ingredients. For this cream cheese pound cake recipe, you’ll need:
- 16 oz cream cheese, softened
- 1 cup unsalted butter, softened
- 3 cups granulated sugar
- 6 large eggs
- 3 cups all-purpose flour
- 1 teaspoon vanilla extract
- 1 teaspoon baking powder
- 1/2 teaspoon salt
Isn’t it simple? Just a handful of everyday ingredients that come together to create magic!
Step-by-Step Instructions
1. Preheat the Oven
First things first, preheat your oven to 325°F (160°C). This step is crucial because we want our cake to bake evenly and thoroughly.
2. Grease the Pan
Grease your Bundt pan or a 9×5-inch loaf pan with butter or non-stick spray. This will prevent your cake from sticking to the pan—no one wants a sad, broken cake!
3. Cream the Butter and Cream Cheese
In a large mixing bowl, beat the softened butter and cream cheese together until creamy and smooth. This usually takes about 3-5 minutes with an electric mixer. You want to ensure it’s well combined, almost airy, and fluffy. It’s like giving the cake a warm hug!
4. Add Sugar
Slowly add in the granulated sugar to the mixture while continuing to beat. Mix until the sugar is fully incorporated, and the mixture is light and fluffy.
5. Incorporate the Eggs
Now, it’s time to add the eggs, one at a time, mixing well after each addition. This helps the mixture to come together beautifully and prevents it from curdling. Don’t rush this step—be patient, and you’ll be rewarded!
6. Mix Dry Ingredients
In another bowl, whisk together the flour, baking powder, and salt. Gradually add this dry mixture to the wet ingredients, mixing at a low speed. Don’t over-mix; just ensure everything is combined!
7. Add Vanilla Extract
A splash of vanilla extract goes a long way! Stir it into the batter for that lovely aromatic flavor that complements the cream cheese perfectly.
8. Pour and Bake
Pour the batter into your prepared pan. Bake in the preheated oven for about 70-75 minutes or until a toothpick inserted in the center comes out clean. Your kitchen will smell divine!
9. Cool and Serve
Once baked, allow the cake to cool in the pan for about 15-20 minutes. Then, turn it out onto a wire rack to cool completely. Once cooled, slice, serve, and enjoy this rich, creamy slice of joy!
Final Thoughts
There you have it—a foolproof cream cheese pound cake recipe that’s sure to impress your family and friends! Whether it’s a special occasion or just a casual weekday treat, this moist and velvety cake is perfect for any dessert table. So, what are you waiting for? Get baking, and indulge in the bliss of cream cheese pound cake!
FAQs
1. Can I use reduced-fat cream cheese?
Yes, you can, but keep in mind that it may alter the texture of the cake slightly. Full-fat cream cheese yields the best results!
2. How should I store the cake?
Store it in an airtight container at room temperature for up to 3 days, or in the refrigerator for longer freshness.
3. Can I freeze cream cheese pound cake?
Absolutely! Wrap it tightly in plastic wrap and foil. It can be frozen for about 2-3 months. Just thaw it in the fridge before serving.
4. Can I customize the flavors?
Definitely! You can add lemon zest, chocolate chips, or even mix in some spices like cinnamon for a personalized touch.
5. What’s the best way to serve it?
This cake is delicious on its own, but you can add whipped cream, fresh berries, or a drizzle of chocolate sauce for an extra treat!